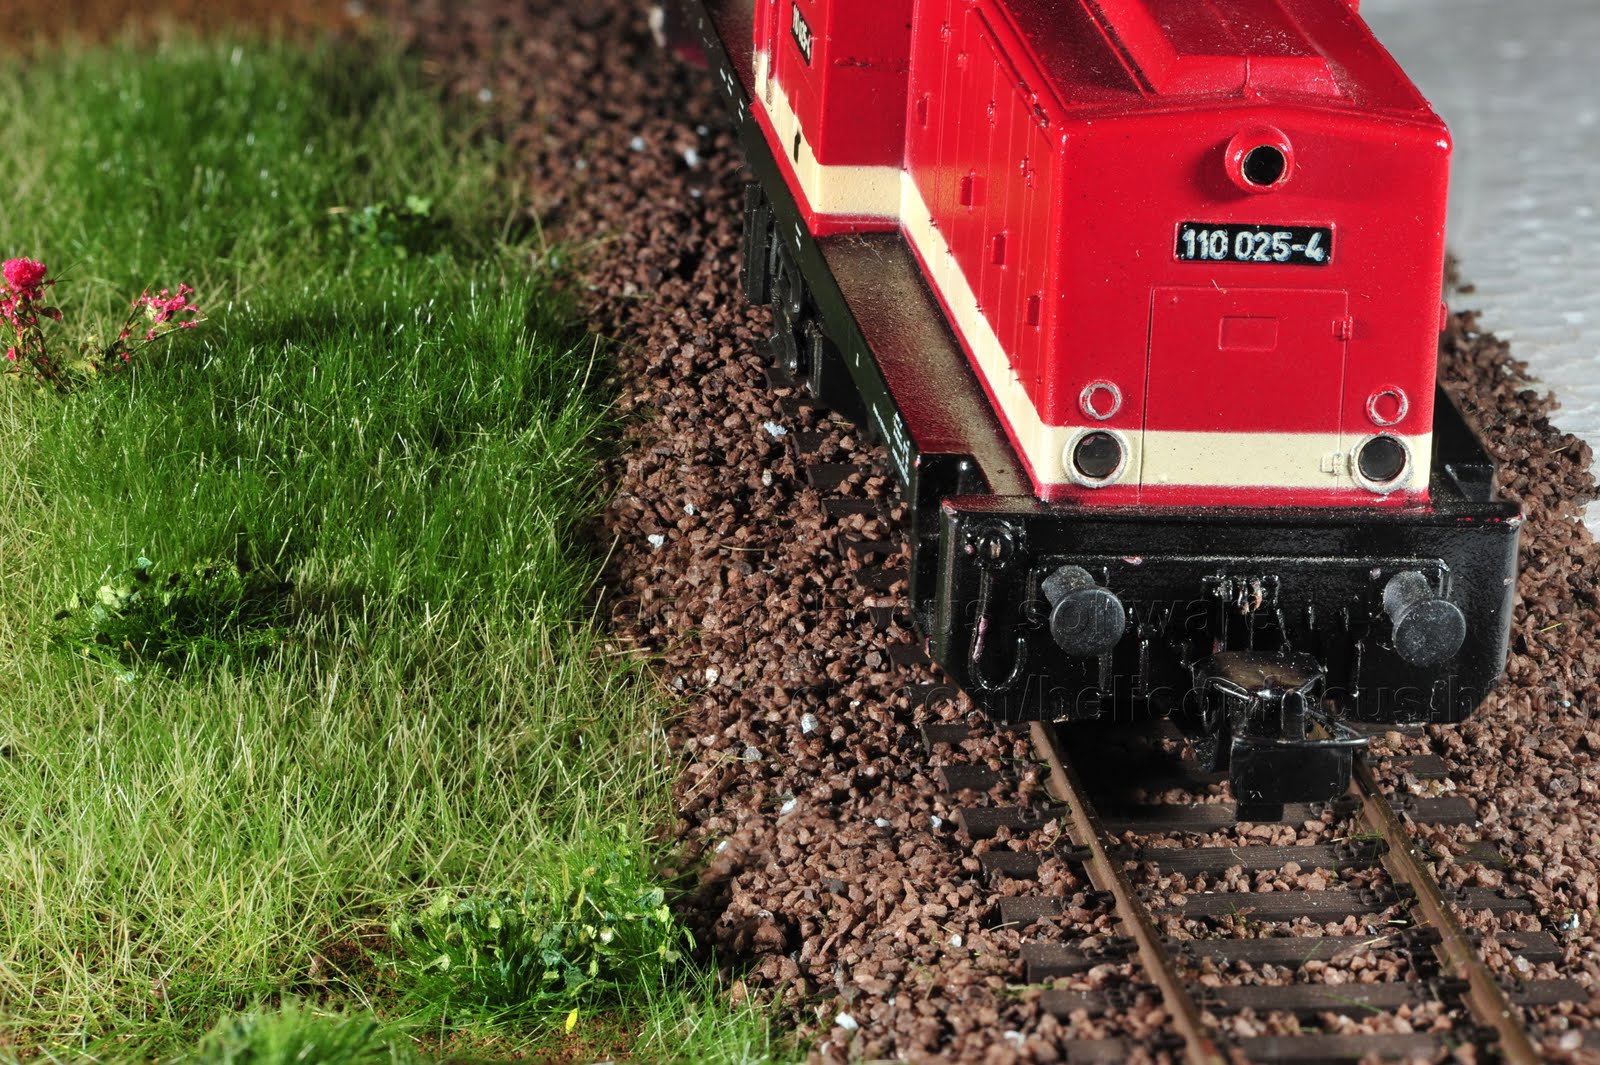
What didn't turn quite all right on the test board were the ties. Even treated with some weathering powders, they still don't escape that "plastic" look . The search for a better way goes on...
 . The search for a better way goes on...
 . The search for a better way goes on...
 wiring and electronics at this time, but further construction on the layout is not really possible without setting in place the infrared detectors and the wires needed. The biggest concern right now is how to hide the emitter/phototransistor pair, since both are rather shiny and bulky - bigger than half a wheel in size. Bushes or some type or vegetation would be a good choice, however there are areas where this just can't be used. For example on a parrallel set of tracks, as they are found on the PT section of the layout, where there are 2 curved tracks bordered by hills/retaining wall,with nothing on them but ballast. To make infrared detection work reliably, the emitter / detector must be placed at different hights (underbody of cars/locomotives where empty space alternates with wheels) and not perpendicular to the direction of travel (gaps between the cars would incorrectly signal the end of a train). Therefore in my case, each of the elements of one pair should be grouped together between the tracks, at a relatively low height, while the corresponding elements in the pair should be hidden in the hills/retaining walls on each side of the track).
 Finally - the second half of the board is now done. Or to be more accurate, the photos from the craftsman operating the Nikon D700 are starting to reach me, since the board was just lying around here for a month or so.
 As promised, in this post I'll detail the steps taken to do the test board:
 side of the track; also the rivets are nicely done and the fixing system seems very sturdy. The one placed on the track is not equipped with these, while the other one placed on the foam is. The whole foam area is going to be elevated in the form of a hilly/mountaineous region, so the pre-tunnel track will look like it's carved its way through the landscape. For the overpass section a total of 3 ramps will be needed (it appears i won't be able to get away with just 2, as I originally thought). Of course such a long span cannot sustain itself, so an extra support it's going to be needed in the middle. And since the corresponding Marklin piers are out of the question (big bulky masonry piers), I think I will go with the new Noch girder structure. The problem with all the new laser-cut bridge kits from Noch is that they have been delayed ever since July. A nice lady from Noch assured me that they are going to be available starting this December, but so far none has made it in the "In stock" area in my LokShop account.